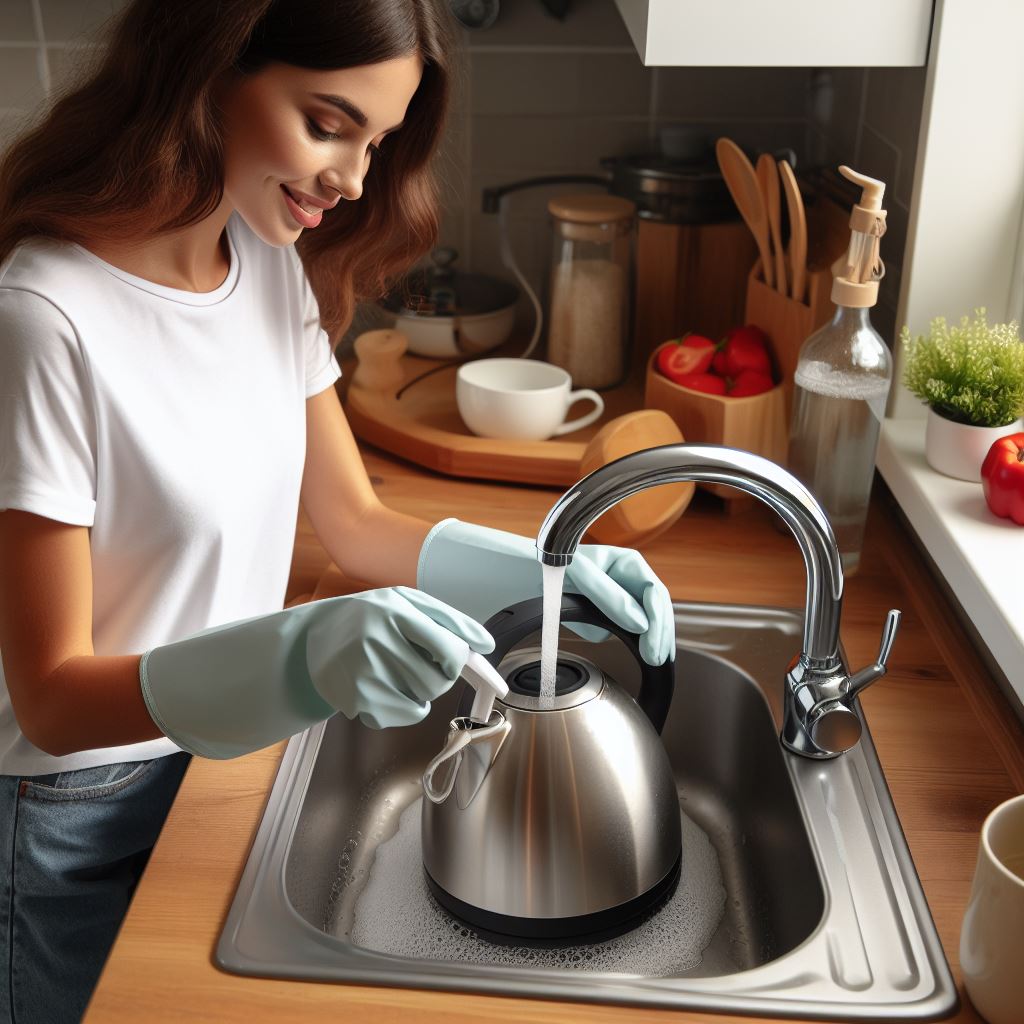
How to Clean an Electric Kettle The Right Way Leave a comment
Electric kettles provide a convenient way to quickly boil water for tea, coffee, instant foods and more. The heating element and design allows water to boil faster than on the stovetop.
However, over time mineral deposits from water and other internal grime can build up. It’s important to deep clean an electric kettle every month or two to keep it working efficiently and tasting fresh.
Cleaning the inside of a kettle may seem intimidating but is actually quite simple with some basic supplies. In this article we’ll walk through the key steps for descaling, sanitizing and deodorizing.
Supplies Needed

Before tackling the cleaning process, you’ll want to gather the following helpful supplies:
- White vinegar – For descaling/removing mineral deposits
- Baking soda – To neutralize odors
- Fresh lemons – Natural acid cuts grease and disinfects
- Dish soap – Combined with other ingredients to make cleaning solutions
- Old toothbrush or bottle brush – For scrubbing the kettle interior
- Microfiber cloth – For drying and polishing
- Water – For rinsing and mixing cleaning solutions
You probably have most if not all of these already in your kitchen. Makeshift tools like chopsticks or a thin rag can also work for getting into the spout and other narrow spaces.
Start by unplugging the kettle and allowing it to fully cool if it was recently heated. Next fully empty out any existing water.
Then bring the supplies to your workspace along with the electric kettle so everything is handy for the cleaning process.
Descaling
Descaling is the process of removing mineral deposits that have built up inside your electric kettle over time. This includes limescale, calcium, and magnesium that get left behind from tap water.
If left unchecked, these mineral deposits can limit the efficiency of the heating element, make water take longer to boil, add a strange taste, and in extreme cases even clog parts of the kettle. Descaling helps extend the lifespan of your appliance.
You’ll need:
- White vinegar
- Water
- Old toothbrush or bottle brush
Follow these steps to descale with vinegar:
- Fill kettle with 2 cups white vinegar and the rest with water so it’s about 80% full. The acidity in the vinegar will break down the mineral deposits.
- Bring the vinegar solution to a boil, then let it sit for at least 30 minutes up to a few hours so the minerals absorb the vinegar. You should start seeing bubbling on the heating element.
- Scrub interior with brush to agitate built-up limescale and calcium. Pay extra attention to the filter, spout, and crevices.
- Once cooled, drain out vinegar. Rinse a few times with clean water to eliminate vinegar smell.
- Fill with clean water and boil. This will remove any residual mineral deposits and vinegar.
- Rinse thoroughly.
- Dry exterior with microfiber cloth to prevent water spots.
For severe mineral buildup:
- Soak overnight instead of 30 minutes
- Use a 50/50 vinegar and water ratio instead of 80/20
- Repeat descaling process
Descaling every 1-2 months keeps electric kettles shining and reduces long-term damage.
Sanitizing
While descaling tackles mineral deposits, sanitizing disinfects the kettle interior and kills bacteria that causes odors or mold buildup.
For this step you’ll need:
- Fresh lemon
- Dish soap
- Water
- Small bowl
- Toothbrush
Here is the simple process to sanitize with lemon juice:
- Squeeze lemon juice from 2 lemons into bowl. This provides acidic acid, enzymes, and antimicrobial properties.
- Add a squirt of dish soap which helps amplify cleaning power.
- Mix lemon juice and soap together thoroughly with spoon.
- Apply mixture inside kettle using toothbrush to distribute evenly onto surfaces.
- Allow to sit for at least 15-20 minutes. The lemon sanitizes while dish soap loosens debris.
- Scrub walls, base, filter with brush. Get into crevices.
- Once cooled, thoroughly rinse kettle with clean water several times to eliminate residue.
- Bring clean water to boil then discard to rinse one final time.
- Dry with microfiber cloth to prevent water spots.
Tips:
- Wash lemons beforehand for a clearer solution
- Can soak overnight for extremely dirty kettles
- Repeat every 1-2 months
This cheap, natural sanitizing method keeps your electric kettle fresh between descaling.
Hard-to-Reach Areas
Kettles have some nooks and crannies that can be tricky to clean. Pay special attention to these spots when scrubbing the interior:
Spout
- Use chopstick or thin bottle brush to scrub inside spout.
- Once kettle is empty, look down spout to check for debris.
Filter
- The filter collects much of the mineral residue.
- Remove filter and clean separately if possible.
- Scrub filter in lemon mix and rinse well.
Lid Crevices
- Wedge toothbrush into crevice between lid and body.
- Clean the lid connector and nearby surfaces.
Heating Element
- Never submerge element in liquid!
- Wipe above water line with toothbrush.
- Rinse well with clean water.
Getting into these spots prevents grime buildup leading to bacteria or mold later on.
Maintenance
To keep your electric kettle sparkling between deep cleanings:
- Rinse well after each use once water has cooled. This prevents mineral deposits sticking.
- Leave lid open when not in use so interior fully dries.
- Use filtered water to minimize minerals left behind.
- Quick boil plain water once per week. Discard boiled water immediately.
- Store kettle upside down or on side so moisture doesn’t pool.
- Check manufacturer guidelines for other care tips specific to your make & model.
Stay on top of maintenance and your electric kettle will provide great tasting tea and coffee for years!
Read also:

