No products in the cart.
How to Deep Clean Your Microwave in Just 10 Minutes Flat Leave a comment
It’s easy to overlook cleaning the microwave until splatters start accumulating or smells emerge. However, a quick scrub of the interior and exterior once weekly or monthly pays off by keeping this hardworking appliance in tip-top shape for heating or cooking tasks.
Grease, food debris, and liquids can leave splatters and cause staining or odors over time. Plus, some food remnants could carry bacteria that multiply creating unsafe conditions. Following basic microwave cleaning fundamentals leads to a sparkling interior, shiny exterior, and always odor-free performance for all your heating and cooking needs.
This article outlines key supplies to have on hand, and step-by-step instructions for tackling all areas of gunk buildup. Once you establish a regular microwave cleaning routine, it takes just minutes each month to keep everything hygienic and mess-free.
Supplies Needed
Having the proper gear close at hand makes cleaning efficient, effective, and hassle-free. These typical household items are excellent basic microwave cleaners to keep stocked:
Microwave Cleaner
- Formulated specifically for microwave interiors
- Cuts through baked-on food grime
- Brands like Affresh, Lysol, CLR
Baking Soda
- Mild abrasive dissolves grime
- Mix with water to form cleansing paste
- Deodorizes
Vinegar
- Loosens stubborn, stuck-on food
- Disinfects bacteria
- Removes odors
Water
- Dilutes cleaning solutions
- Rinses away dirty residue
Soft Cleaning Cloths/Sponges
- Lint-free cloths prevent scattering debris
-Won’t scratch surfaces
Prep your cleaning helpers ahead to be primed for achieving a gleaming microwave using our step-by-step guidance.
Wiping Down Exterior
Before tackling leaks, splatters or spills inside the microwave, it’s wise to start with the outside. Quick dust and grime accumulation happen on the outer surfaces near the ventilation holes.
- Unplug First: Disconnecting the power cord prevents possibility of electric shock during cleaning session. It also disables any unintentional start ups.
- Mix Solution of Soap and Water: Use dish soap or other mild cleaner safe for exteriors combined with warm water in a bowl or spray bottle.
- Wipe Exterior Surface Thoroughly: Dip soft cloth in solution to wipe away dust, grease splatter, and other grimy spots on the door, handles, display, and vents.
Be sure to use minimal pressure on any lettering or logos printed directly on the unit during cleaning to prevent premature fading or scratching damage to the exterior finish.
Wiping Down Interior
While the exterior collects minimal dust and some errant splashes, the real grime culprit in microwave ovens lies inside. Food particles, sauces, oils and liquids lead to messy build up and unwanted odors if not cleaned regularly.
- Remove Turntable and Racks: The glass turntable, roller ring, and possibly wire racks slide out easily to allow access to all sides of the interior during cleaning.
- Mix Baking Soda and Water Paste: Make a spreadable scrub paste with approximately 1/2 cup baking soda and just enough water to form a thick paste. Apply to interior surfaces.
- Scrub Inside Surfaces with Paste: Using a soft cleaning cloth, work the baking soda paste over all interior cavity walls, the metal air vent cover, interior glass, and door interior to lift stains and deodorize. Rinse paste away thoroughly before replacing turntable and racks.
Steam Cleaning

For fast dissolving of clingy, baked-on food bits or saucy splatters that evade basic scrubbing, a heating session with steam power can tackle the grime. Vinegar cuts grease too.
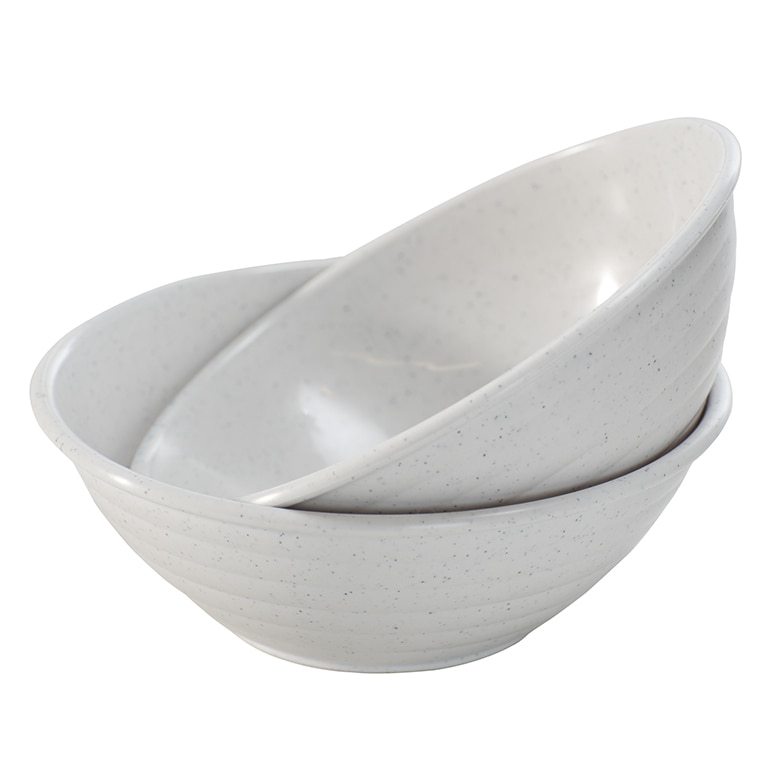
- Microwave Safe Bowl of Vinegar + Water: No metal bowls. Fill with 1-2 cups water and add 1/4 cup vinegar.
- Heat to Steaming: Heat the solution for 2-3 minutes until bubbling hot and steaming. Allow to steam 3 more minutes.
- Steam Loosens Grime: Keep the microwave door closed so interior fills with steaming vapors. Condensation forms to help loosen and lift clinging foodstuff. Wipe with cloth.
Removing Odors
Along with sanitizing and cleaning the microwave interior, eliminating any funky smells should also be addressed. This water + lemon juice method leaves a fresh scent behind.
- Small Bowl of Water + Lemon: No metal. Fill bowl with 1 cup water and squeeze fresh lemon juice from one lemon into the water.
- Heat, Let Stand 5 Minutes: Microwave the lemon water for 2-4 minutes until steaming. Allow to stand inside while cooling about 5 minutes post heating.
- Absorbs Smells: The heated lemon infuses the interior with fresh citrus scent. As the cooling steam condenses, it brings down food odors in the process. Discard water after.
Maintenance
To make cleaning fast and hassle-free on a regular basis, putting some good habits in place makes microwave care much easier going forward .
- Wipe Spills Promptly: Attend to food mishaps immediately to prevent interior staining and built up debris accumulation between thorough cleaning sessions. Just heat a wet paper towel to loosen gunk.
- Line with Paper Towels: Lay paper towels under dishes prone to popping and splattering juices or sauces to catch the spillover and allow easy sheet swapping between uses.
- Change Racks When Stained: Over time, wire racks can absorb stains or odors even after cleaning. Swap racks out with new replacements when they appear unsanitary.
Key Takeaways
- Cleaning microwave prevents odors and keeps food sanitary
- Supplies: microwave cleaner, baking soda, vinegar, soft cloths
- Mix baking soda + water paste to scrub interior
- Steam clean with vinegar + water
- Remove smells with lemon + water
- Wipe spills ASAP for easier upkeep
Read also:

